
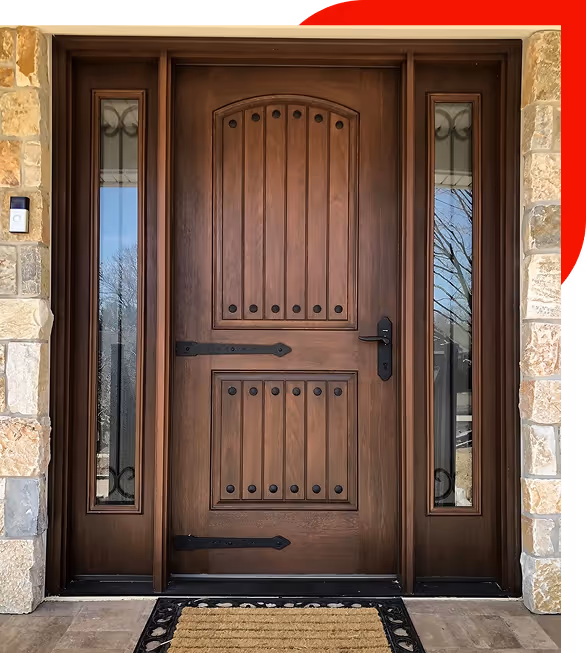
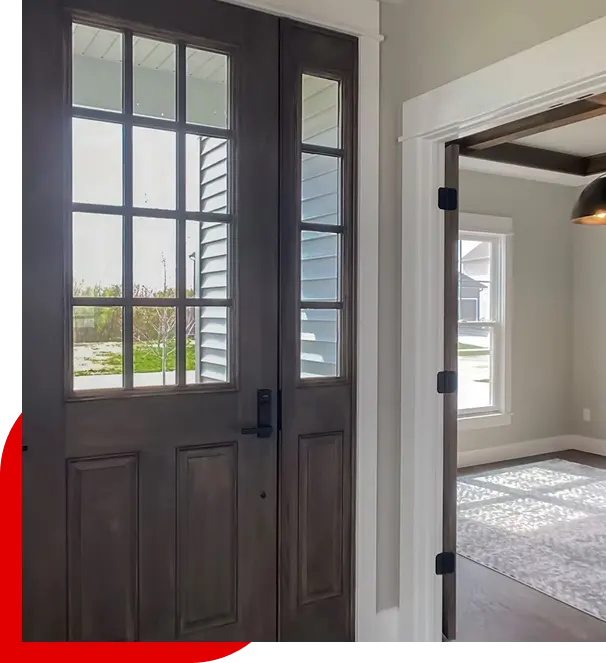
The drawings on the following pages show some examples of doors that are appropriate to each of these styles. All entry doors are not created equal, so do your research. The best entry doors are made with advanced materials and construction methods to look great for many years. Contact Arcadia Sash & Door Inc to get the right door for your home.
There are three basic door construction materials: wood, fiberglass, and steel. When it comes to selecting a door for your house, it’s best to stay true to the house’s established style. When it comes to door selection, architectural styles have four broad categories:
Most early colonials and capes (as well as Georgian- and Federal-style houses) had solid-wood doors without glass. To accommodate the wood movement, doors had four or six raised panels.
Sticking—the treatment of the rails and stiles at the points where they meet the panel—usually required a simple shape, such as an ogee, quarter-round, or quarter-bead, that could be cut with hand tools.
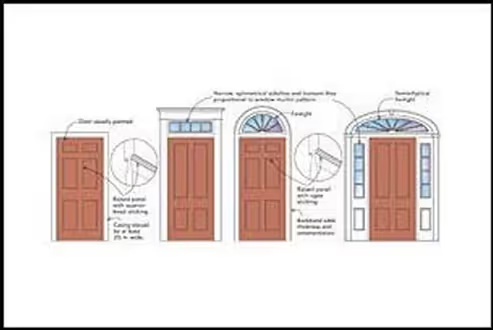
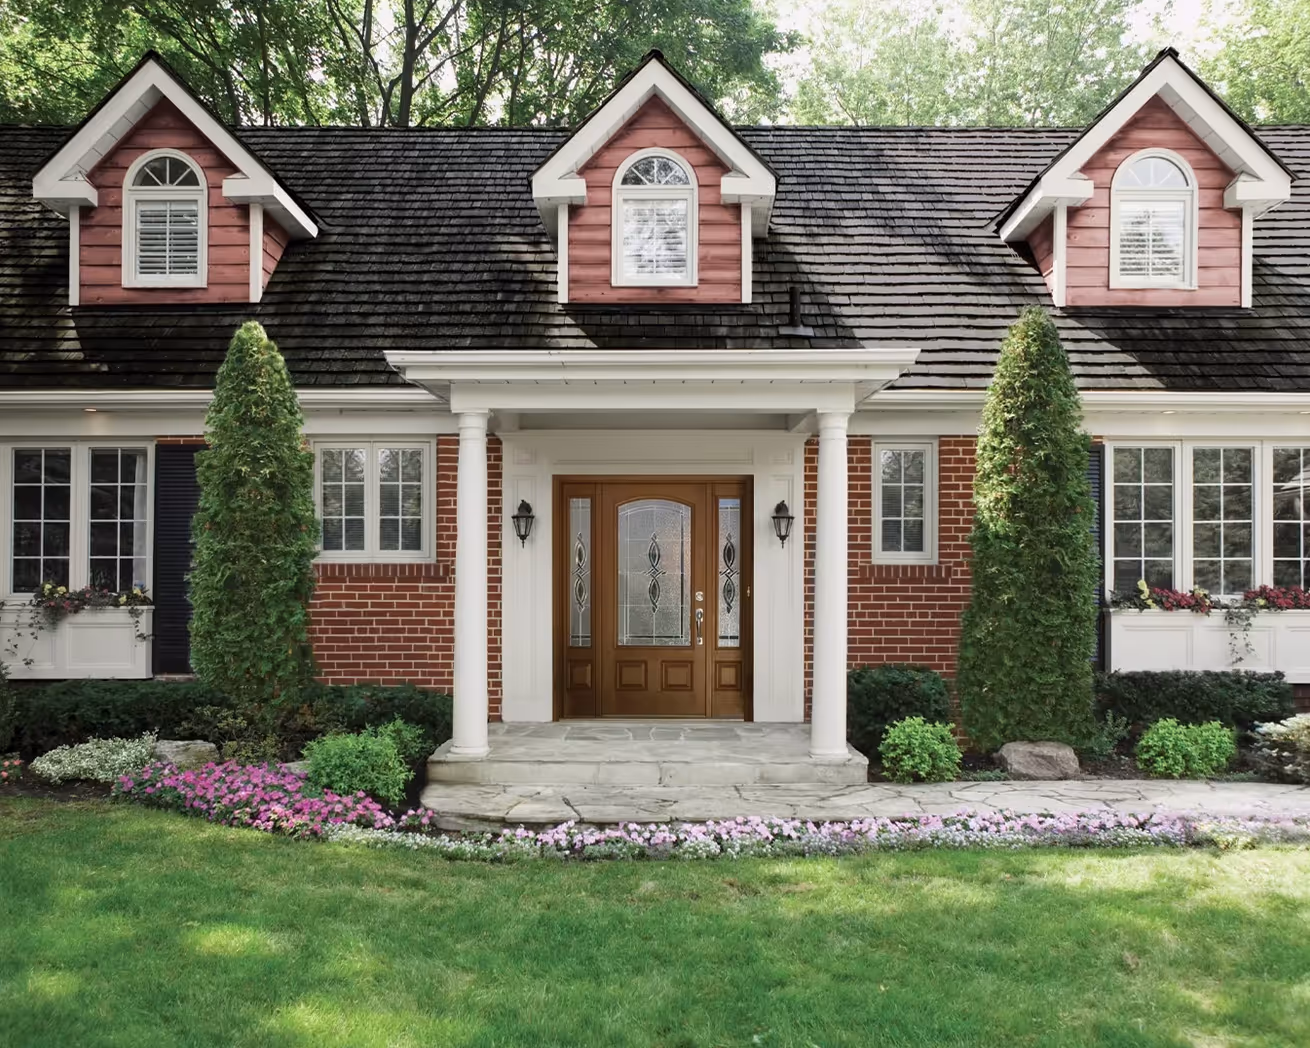
Colonials and Capes: 1700s-Present
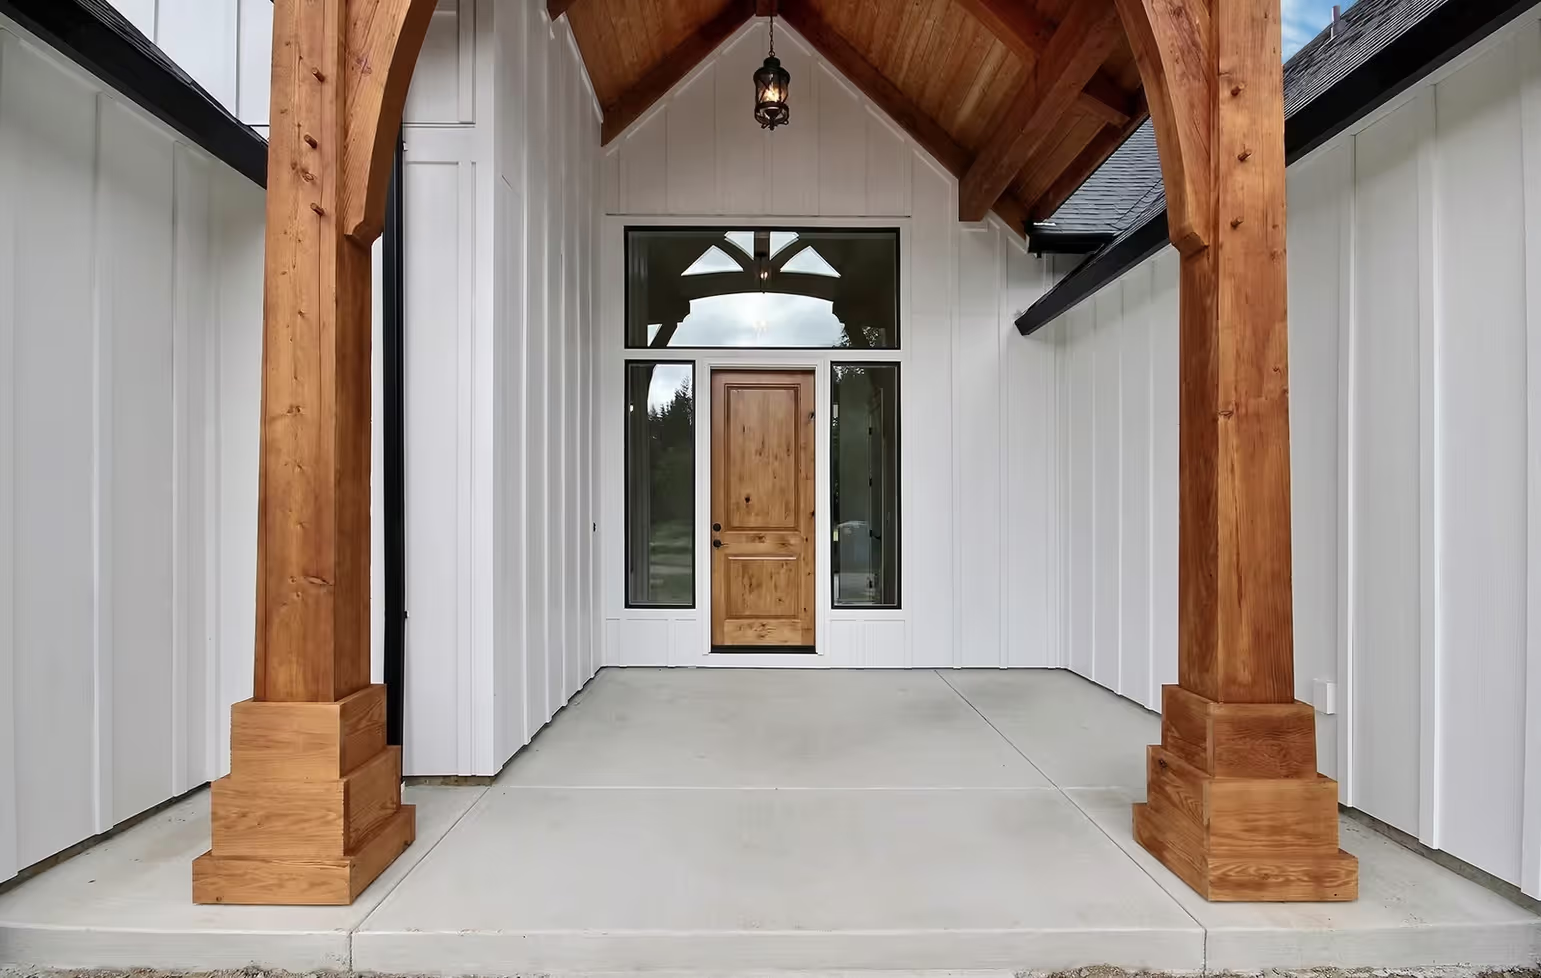
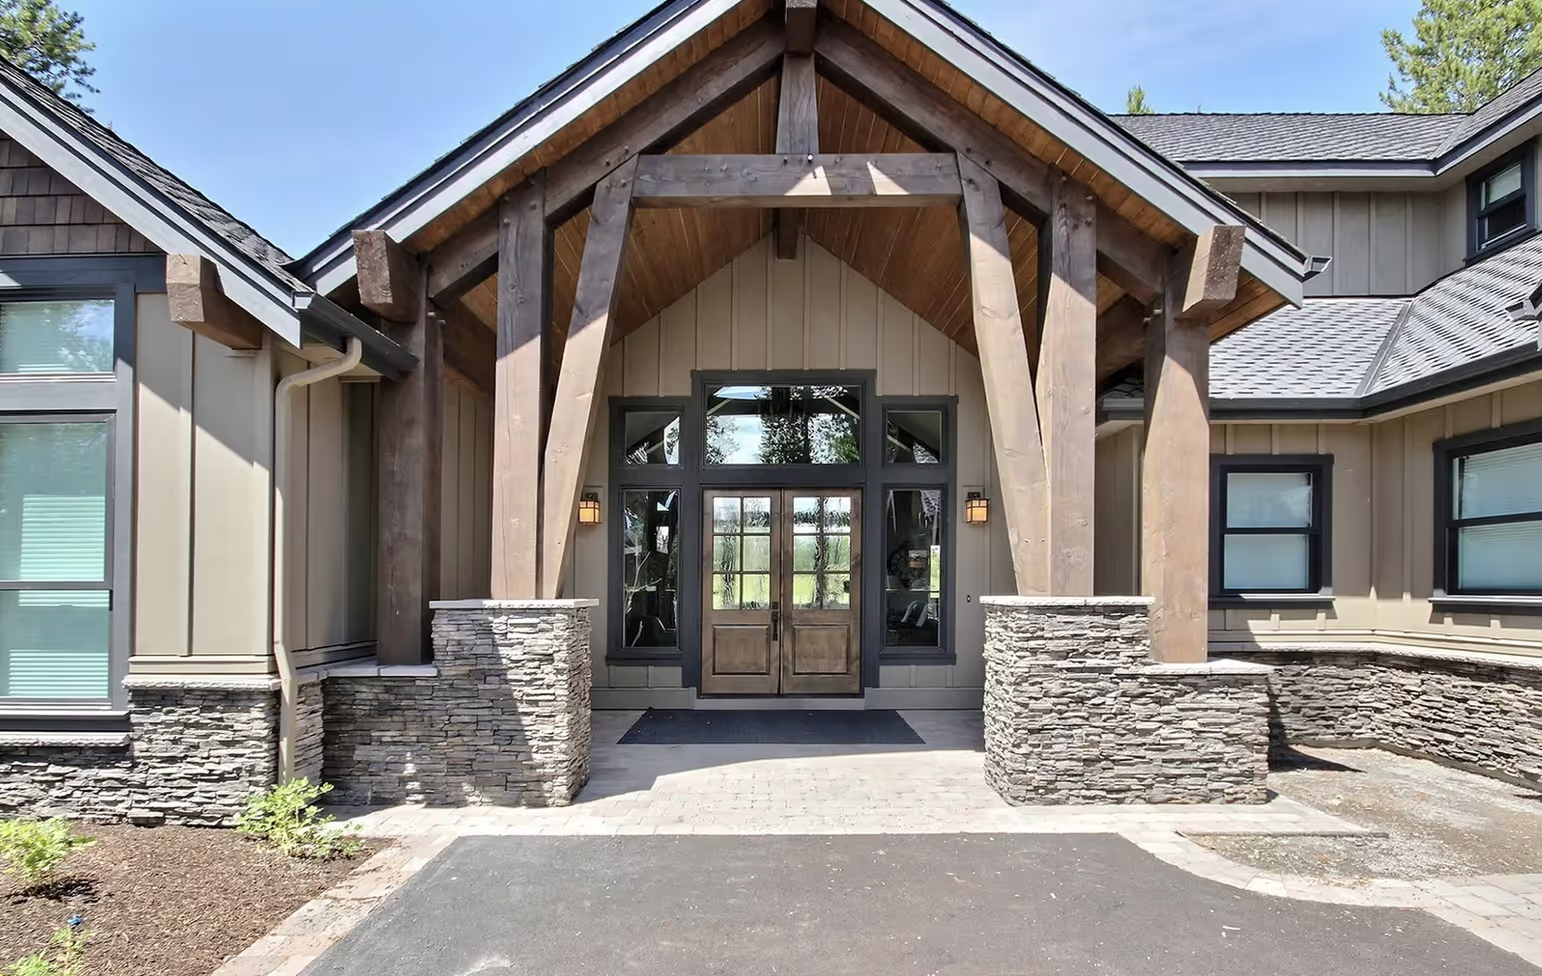
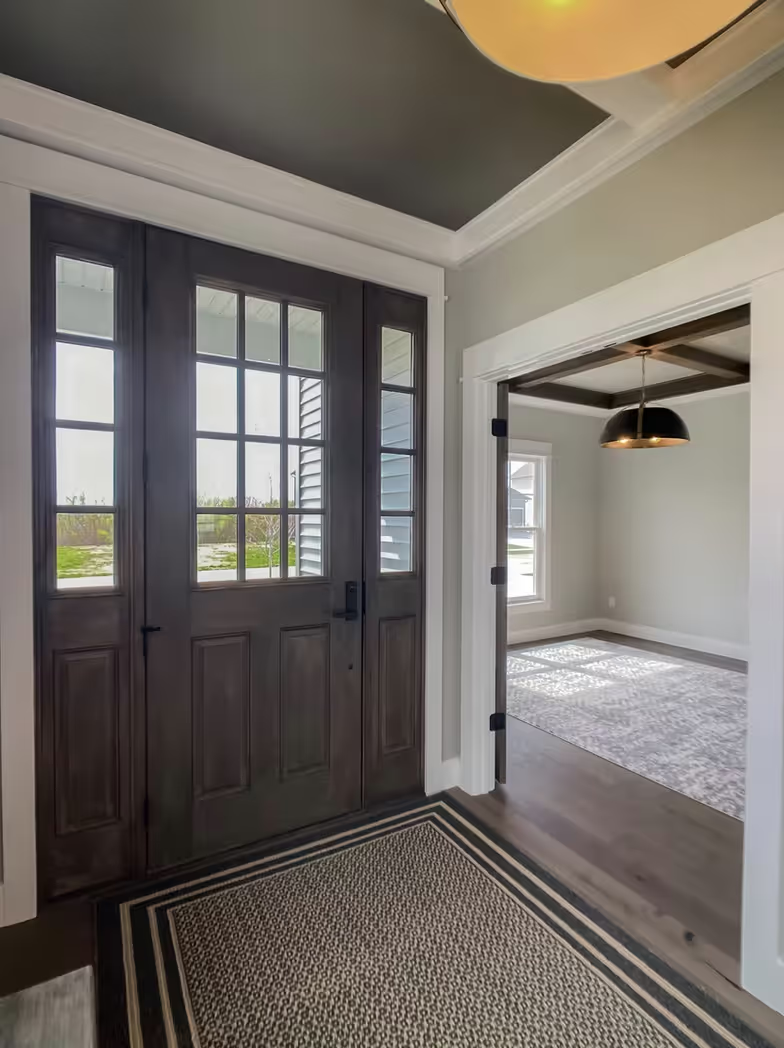
Doors on colonial-style houses can be combined with a pair of sidelites arranged symmetrically on each side of the door. Above-the-door transoms and fanlights were stylistically appropriate ways to bring light to the entry hall.
They can be rectangular, semicircular, or semi-elliptical, and can be combined with sidelites. The size of the panes in the transom and sidelites should be proportionate to those of the windows in the rest of the house.
Traditional colonial styles can have a decorative surround consisting of pilasters with an entablature, pediment, or arch. The trim can be flat, vertical boards, with a thicker and/or taller head trim that might sport a cornice cap. Porticoes and similar porch-like additions were not introduced until colonial-revival periods.
This era, which includes the Craftsman and prairie style doors, celebrated unadulterated materials and made an aesthetic of simpler construction methods. Doors for houses of these styles have rails and stiles, often with flat panels and simple rectangular, quarter-round, or quarter-bead sticking. These may have fewer and/or wider panels than earlier eras.
As with the Victorian home, porches are an important component of this
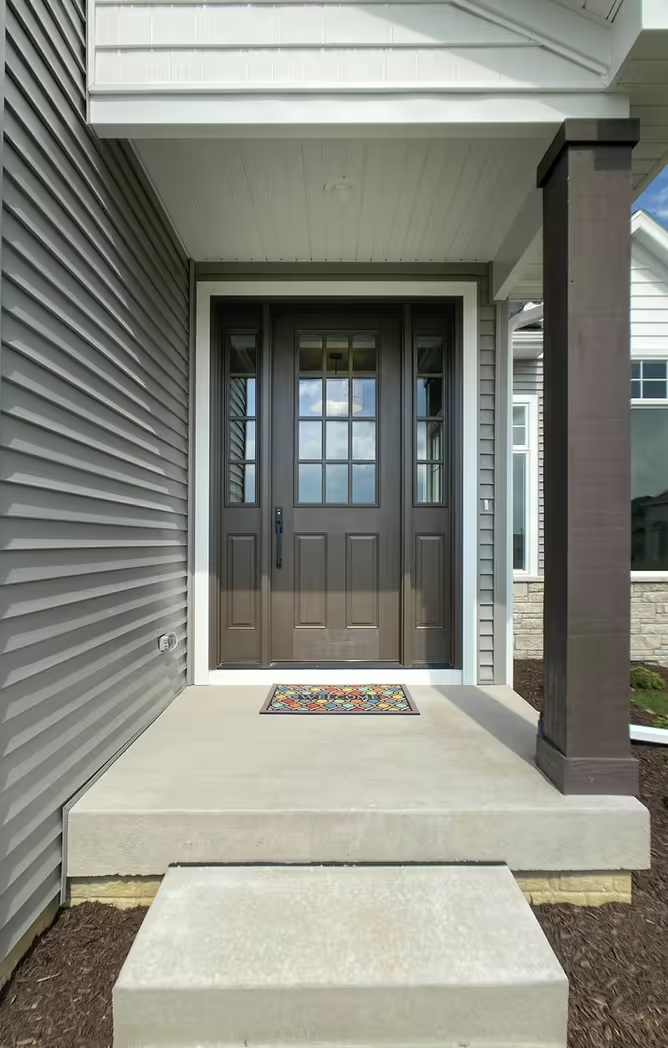
style and make it comfortable to have generous amounts of glass in the doors. Muntin patterns should be simple and rectangular. A popular door introduced at this time had six panes of glass in the upper portion of the door and two large, vertical wood panels below.
The upper portion of the door allows the owner to see who is on the stoop, while the solid panels below provide privacy and security. This door takes up less width than a solid door with sidelites, making it particularly useful for small houses with narrow entry halls and in areas where security and privacy are a concern.

The middle of the 19th century witnessed an explosion of industrialization and the advent of a “more is more” aesthetic. Beginning with the comparatively tame Greek revival, the era continued on through a series of romantic styles including Gothic, Italianate, Second Empire, stick, Queen Anne, and shingle.
Entry into the house was celebrated with a porch as a transition between public and private space, allowing for glass in the doors without feeling
overexposed to the outdoors. Also, ornaments appeared not just around the door but over the windows, under the eaves, along the rake boards, and even along the ridgeline of the home.
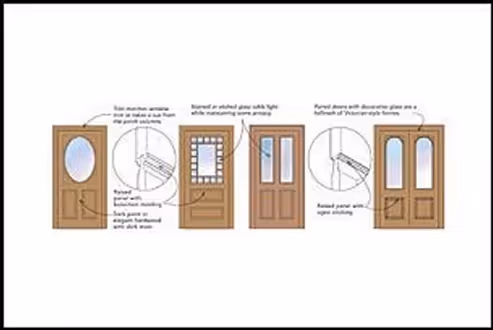
For houses that hark to this era, the focal point of the door is glass, often etched or stained. Instead of a single, solid door with sidelites, these styles favor a pair of doors with glass. The shape of the glass can be an oval or rectangle with an arched top, or it can mimic the windows.
Doors should still be rail-and-stile construction with raised panels, but the panel might have a more complicated profile. Period doors often have a projecting bolection molding with an elaborate profile at the juncture between frame and panel.
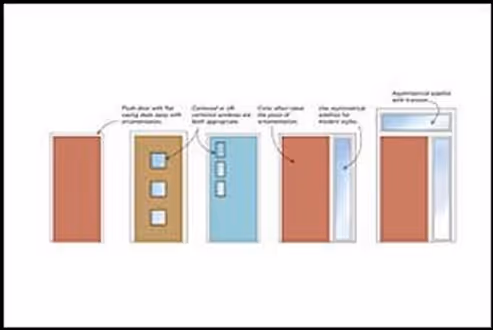
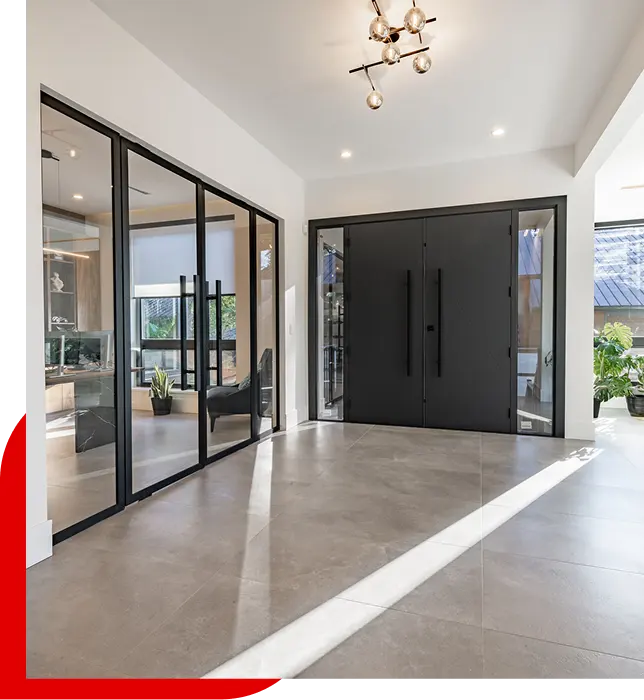
Modernism embraced mass production and manufacturing as an aesthetic with a “less is more” credo. The flush door exemplified the best of this new style. Visible rails and stiles disappeared, replaced by a slab made of durable but inexpensive materials.
The flush door is most successful on houses with many other modern elements, when it stretches floor to ceiling, or when it is combined with a transom to give the same impression. It is also attractive when combined with an asymmetrical sidelite.
Split levels, raised ranches, and other contemporary suburban styles often straddle two different yet conflicting eras. Their attached garages place them clearly in the machine age, so a strong argument can be made for pushing these houses further in the modern direction with a flush door.
However, if these houses have multi-pane double-hung windows, shutters, and a pitched roof, a flush door is inappropriate. These traditional elements can be accommodated with a simple rail-and-stile door with just one or two flat panels. The rails and stiles provide a nod to traditional construction while the large, wide panels are more modern.
A door with three, four, or five horizontal flat panels can be appropriate as it acknowledges the horizontality of the building form. Avoid fancy raised panels, applied molding, ornate sticking, and overly decorative windows. Use trim that matches the windows.
Beauty, style, performance, and adaptability are some of the reasons to choose wood doors. To preserve the fine qualities of these doors and a lifetime of superior service, proper storage, handling, finishing, and installation are important. The following guidelines will help to maintain the high-quality products supplied by wood door manufacturers.
NWWDA certifies firms, which have demonstrated the ability to manufacture wood flush doors according to NWWDA Industry Standards for wood flush doors. Each NWWDA-certified manufacturer's plant is inspected by NWWDA to determine if their production facilities and procedures conform to the standard including all adhesives used to meet the requirements of a Type I (exterior) or Type II (interior) adhesive in accordance with the NWWDA Test Methods T.M.6. The Hallmark provides the door manufacturers, purchasers, and specifiers with an easily recognizable means of identification.
The NWWDA Hallmark identifies manufacturers who meet all the requirements of the NWWDA Hallmark program for wood doors according to the appropriate NWWDA Industry Standards.


.avif)
.avif)

.avif)


Doors set the tone for your home, combining style, security, and function. At Arcadia Sash & Door, we provide high-quality options and expert installation you can count on.
